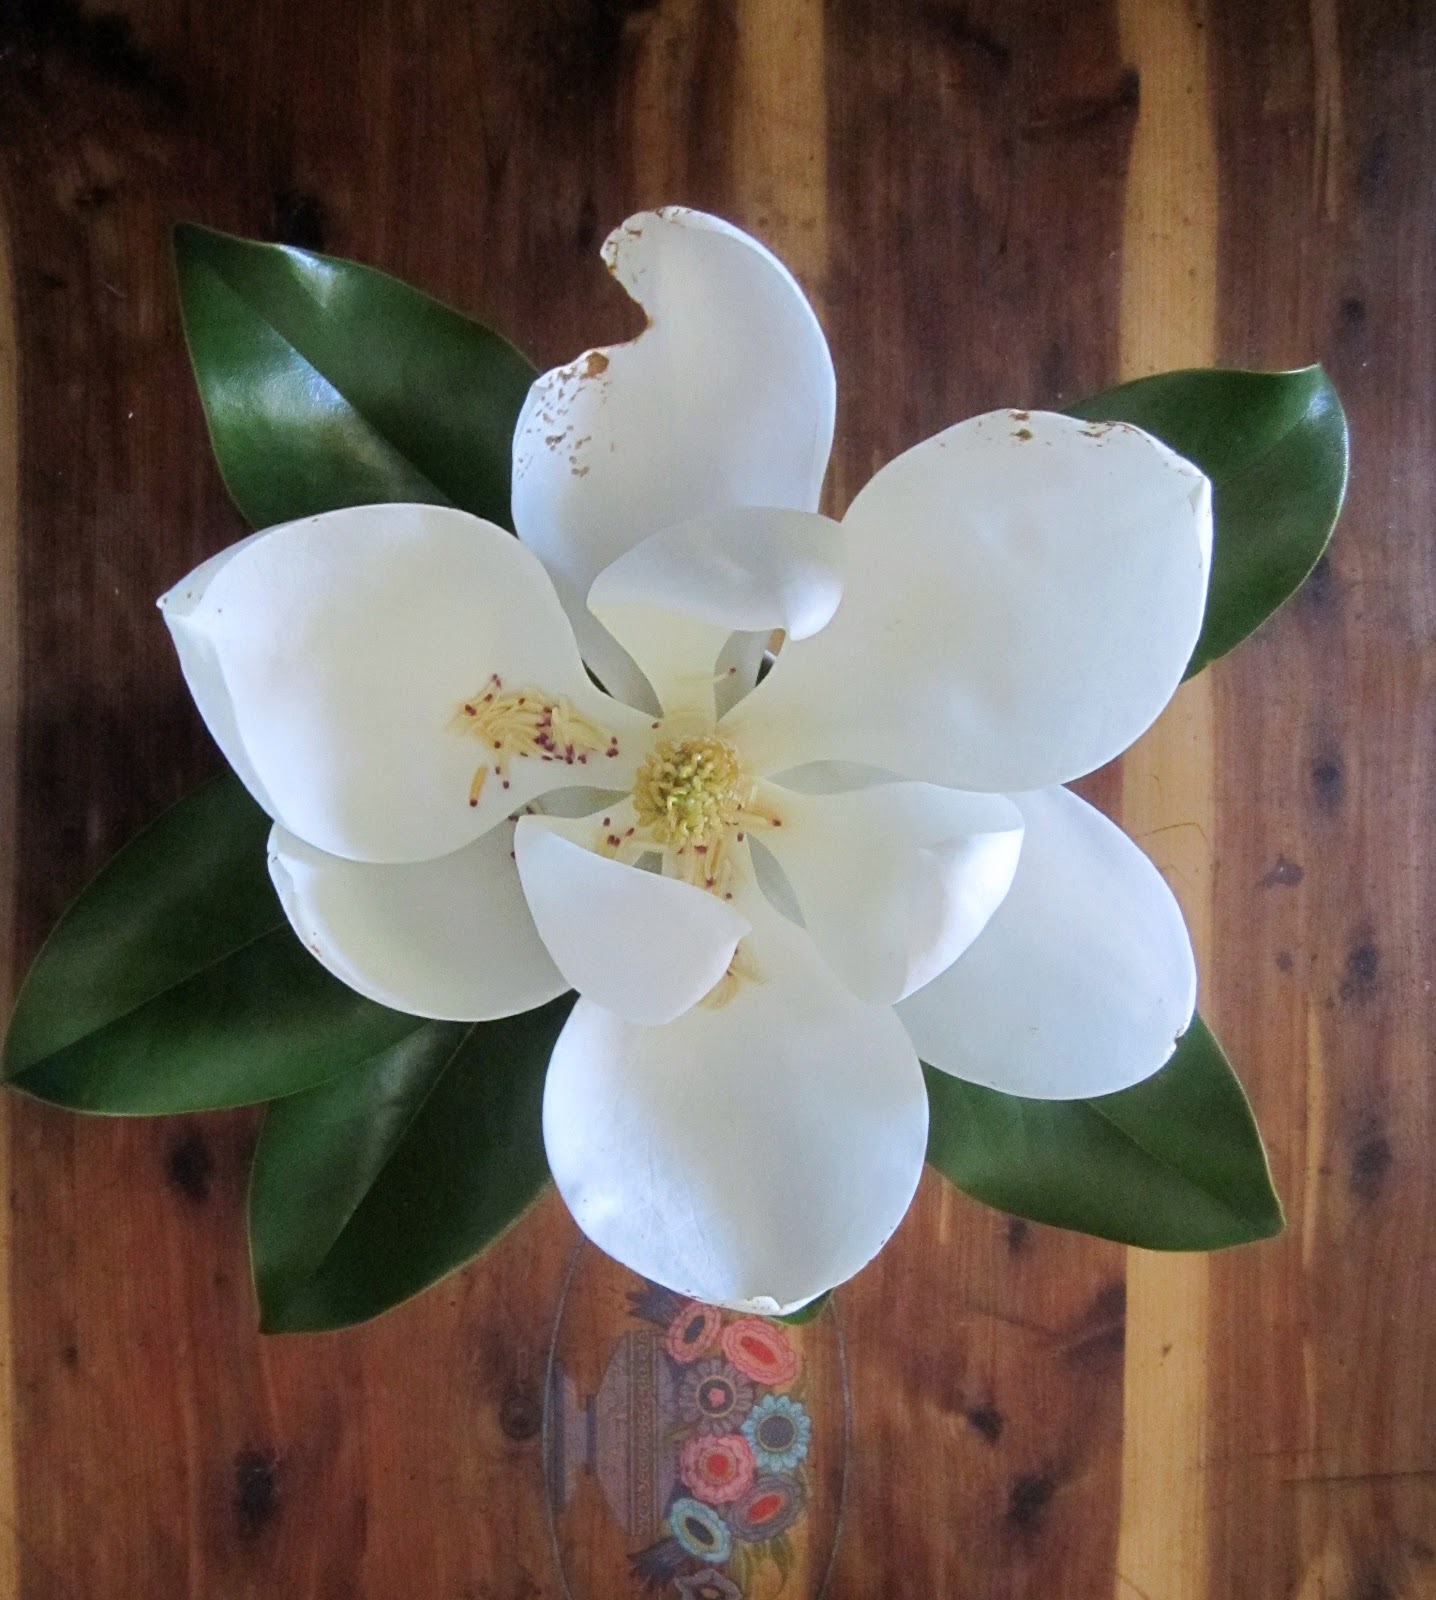
the last bloom of the season

I was compelled to cut the last one.  It was already beginning to get brown spots and the beetles were having their way with the edge of one of the petals.  I spontaneously snipped it, brought it into my studio and placed it in shallow dish  with a bit of water.  I placed it on top of my inherited aunt's cedar chest so as to enjoy the  beauty and fragrance all day.

In case you might ask, I adore magnolia blossoms.  And I have been tempted forevermore to create an art quilt depicting a blossom that I could enjoy throughout the year.  In the south, we use the leathery leaves from our magnolia trees to decorate our house all year long.  But only in the late spring and early summer are we captivated and delighted with their most magnificent blooms and enchanting fragrance.  So here's the teaser for my next quilt.  It is not nearly as large as the last one, but a challenge, none the less.


I drew up the pattern for Miss Magnolia on Friday morning, selected my fabrics and played around with the whites for a while.  Not to be neglectful, I felt obliged to at least begin quilting on Ms. Lantana.


In the midst of my intense machine quilting today, my husband ventured into the studio, "er-ah, are you ready for lunch/?"  Which translates, "come make my lunch for me."  While he was lingering in the doorway, he casually mentioned the number of projects that I have on my walls.  Well, yes, there is a bit going on around in my AADD mind which somehow leaps onto the walls.  One of which is an online quilt bee in which I am participating over at Bumble Beans 15 Minutes Play.  You must make the jump over there to see what is going on with that.  No need in me being too redundant, yet again.  Victoria has set up a wild, wacky wonderful playground which has enticed me to play along.  

Oh, so, back to my wall.   I just received a delightful package from Beth with the requested strips for my 15 minute play project.  LOVE 'EM
Thank you so much Beth.  They are perfect.

And Margaret posted hers on the 15 minute blog, which I cannot wait to receive.  Luscious!
 What I failed to mention in my request on the 15 minute play blog for said strips of fabric rectangles, is my ultimate goal for said strips.  Which I am anxiously awaiting from 9 other lovely ladies.  Yes, yes, I know you think that this is going to be a simple repro of the elegant quilt of my friend that I have been lusting for.   But I have some secret designs in mind for this beauty, which will be reveled at a later time. 

Eeeeyyyyyyyyyyyyiiiiiiiiiiiiii

I see fireworks as I type.

Happy Independence Day to All


.  Encouraged by Melody, I am trying to stretch and flex a bit more.  I have been playing around with my hand dyed fabrics and commercial solids.  I can not be so presumptuous as to compare myself with such a artist as Mel.  But then, coming from the age old mindset of waste not, want not",  what shall I do with these bits of flexations?
hand dyed blues, plums, and chartreuse, shot cotton and grey cotton

light grey & black cotton and white sateen cotton

hand dyed Dijon and white sateen cotton

It would seem that they are just the right size for pillows.  So why not?
It is just another obsession of mine.  I call it cuddle art.  

plays well with others

pillow front
pillow back
Have any of you been flexing and stretching lately?

Phases

Not to be redundant, but does anyone else encounter this dilemma
when working on a quilt of your own design?
Phase 1:  Brilliant inspirational visions
Phase 2:  Fascinating fabric choices


Phase 3:  What the heck was I thinking


Phase 4:  Oh, yeah, this might work

Phase 5:  What the heck was I thinking

Phase 6:  Oh yeah! It's coming together just like I planned


Phase 7:  What the heck was I thinking

Phase  8:  Whew!  This might work after all

Phase 9:  How in the world am I going to quilt this thing

Phase 10:  To be determined


closing in


All of the little pieces are sewn together.  Now to join the larger sections and she'll be ready to quilt.   I  may let her hang for a few more days to see if I need to make any last minute changes that my eyes haven't yet caught.   

Hope every one has a wonderful weekend.  

The Real Deal

My friend Laura and her hubby enjoy auctions.  
They always finds the BEST DEALS ever.  
Check out this beauty.  I feel certain that it is of African American origin from Tennessee.  Or at least one of  our bordering states.  It is made from ginghams, chambrays, corduroy, twills, wool tweeds & plaids, florals to mention a few.  I was immediately in love with this quilt ~ wonderful soft colors and great graphics.  
The backing is a ticking stripe and it is quilted, quite nicely,
in the traditional Baptist Fan pattern.  
Although it has been patched here and there, it is none the worse for wear, considering that it must have been a utilitarian quilt used every night. Laura and Steve graciously allowed me to share this beauty.  I hope that everyone enjoys it as much as I.  And of course, it is on my list to reproduce.  


And while I am on the topic, I wanted to share another local African American quilt which was shown in the local museum quilt show a couple of years ago.   This one, also, is on my list to reproduce.  Isn't it lovely?


Hope y'all have a wonderful week, full of great deals.

The wedding weekend


It was a wonderful weekend.  I could not have captured it more delightfully than my daughter, Casey.  If you would like to see why I haven't had a lot of time to blog or stitch recently, jump over to
for the weekend update

for a look at her new favorite old quilt.
I suspect that she will have more to show in the coming days.  I know that she took tons of photos, so I am anxiously awaiting what she might have for us.  Casey is an interior designer working in Portland, OR.  She also works a full/time part/time job her with partners at 
creating lovely items. Their flagship shop just opened, 
and guess who designed the interior as well as designed 
and built a creative chandelier for lighting this new shop?  

Needless to say, Mom and Dad are very proud of her many accomplishments.
And I would like to shamelessly suggest to anyone in her area in need of an interior designer, you couldn't find anyone more talented than my daughter. 

My new/old coffee table

Last summer my cousin's husband, Joe, ran across a mother load of old factory carts sitting out in a lot in our hometown.  They were all in pretty bad shape, but he was able to purchase a couple at a great price.  After showing me his deals, I immediately ran over to this lot to pick one up for myself.  Alas, the owner decided that he didn't want to part with any more of his carts for the price that my cousin paid.  He had raised the price 5 fold.  Feeling quite disappointed, I just couldn't dig that deep into my pocket for something that I would have to completely restore, I returned home with no cart.

 A few days later, I went out my back door to find this cart.
Joe to the rescue!
The picture doesn't do the paint color justice.
It wasn't blue, it was florescent blue.


Despite my protests that he should not feel obliged to share his luck with me, he insisted.
The cart sat in our garage collecting assorted piles of stuff for several months. A couple of weeks ago, I  decided it was about time to talk our friend, Phillip, into sandblasting the metal parts for me.  He and my husband, Steve, took the whole thing apart and sandblasted it, put it back together and Steve sprayed the metal parts with a sealer.  I sanded and varnished the wood.  And the family room is now graced with my new/old favorite piece of furniture.  I can't take the credit for the idea of using this old cart for a coffee table, but if you click right here, you will see the very pricey inspiration.  Needless to say, my version ended up costing  . . . .  well let's just say, if you move the decimal point over to the left 2 digits, you will get the idea.

Thanks Joe, Phillip and Steve.
I am thrilled with my new coffee table.

If I could put time in a bottle . .

At last, I have been able to find a few hours to work on Ms. Lantana.  You might notice a distinctive line in this photo.  That is because I have sewn the top left section, but the lower section is only partially sewn together.  It seems that I am having a bit of an issue with my drawing/pattern for the full bloom in the section on the right.  When I made my original pattern, it was, if you might recall, quite a bit smaller than the finished piece.  Thus, as I began to cut my fabric from the enlarged pattern, I also began some redrawing. Note to self:  I must learn to perfect the pattern before embarking on a piece of this complexity. It seems that this has resulted in quite a bit of confusion for me.  I seem to enjoy torturing myself by making things more difficult than they should be.  But then, as I always say, I do love a good challenge.  Or is it a case of putting the donkey behind the cart?  Sigmund would have a field day with me, huh?
Oh, and there is another reason that I had not been paying attention to Ms. Lantana.  I was in a panic.  It seems that I was running very low on my hand dyed orange, yellow and green fabrics.  That resulted in having to clean up the space in my garage and reassemble my dyeing studio.  Now that I have my freshly dyed fabrics to work into the mix, I am back with a vengeance, for a day or two at least.


OH! to be able to spend 12 uninterrupted hours a day, 6 days a week in my studio.
C'est la vie.  

moving along

more on my log cabin with posies

At the requests of a few nice folks, I am going to post a few more pictures and details of Ms. Posy.  
Someone asked if I would show some close ups of the flowers.  It just so happens that I have a couple of
in progress pictures from my design wall.

I began by making log cabin flowers.


These began with an approximately 1 1/4 inch hexagon center snipped with scissors and no pattern.  I sewed 1 to 1/ 1/2 inch strips of fabric around the hexagon.  These posies ended up as hexagons, heptagons, and octagons approximately 4 to 6 1/2 inches in size.


For these particular posies, I began by freely cutting ,with my scissors, a hexagon approximately 2 inches x 1 1/4 inches.  More or less.  Because with no rulers or patterns each hexagon will be slightly different in size and shape.   I then cut various sized wedges ranging in size from 4 inches to 1 inch.  Again, more or less.    Choosing 2 to 5 wedges, I sewed them together, to have "petals" to the approximate size of one of the sides of the hexagon center.   Then I was able to stitch them onto one side of the hexagon of corresponding size.
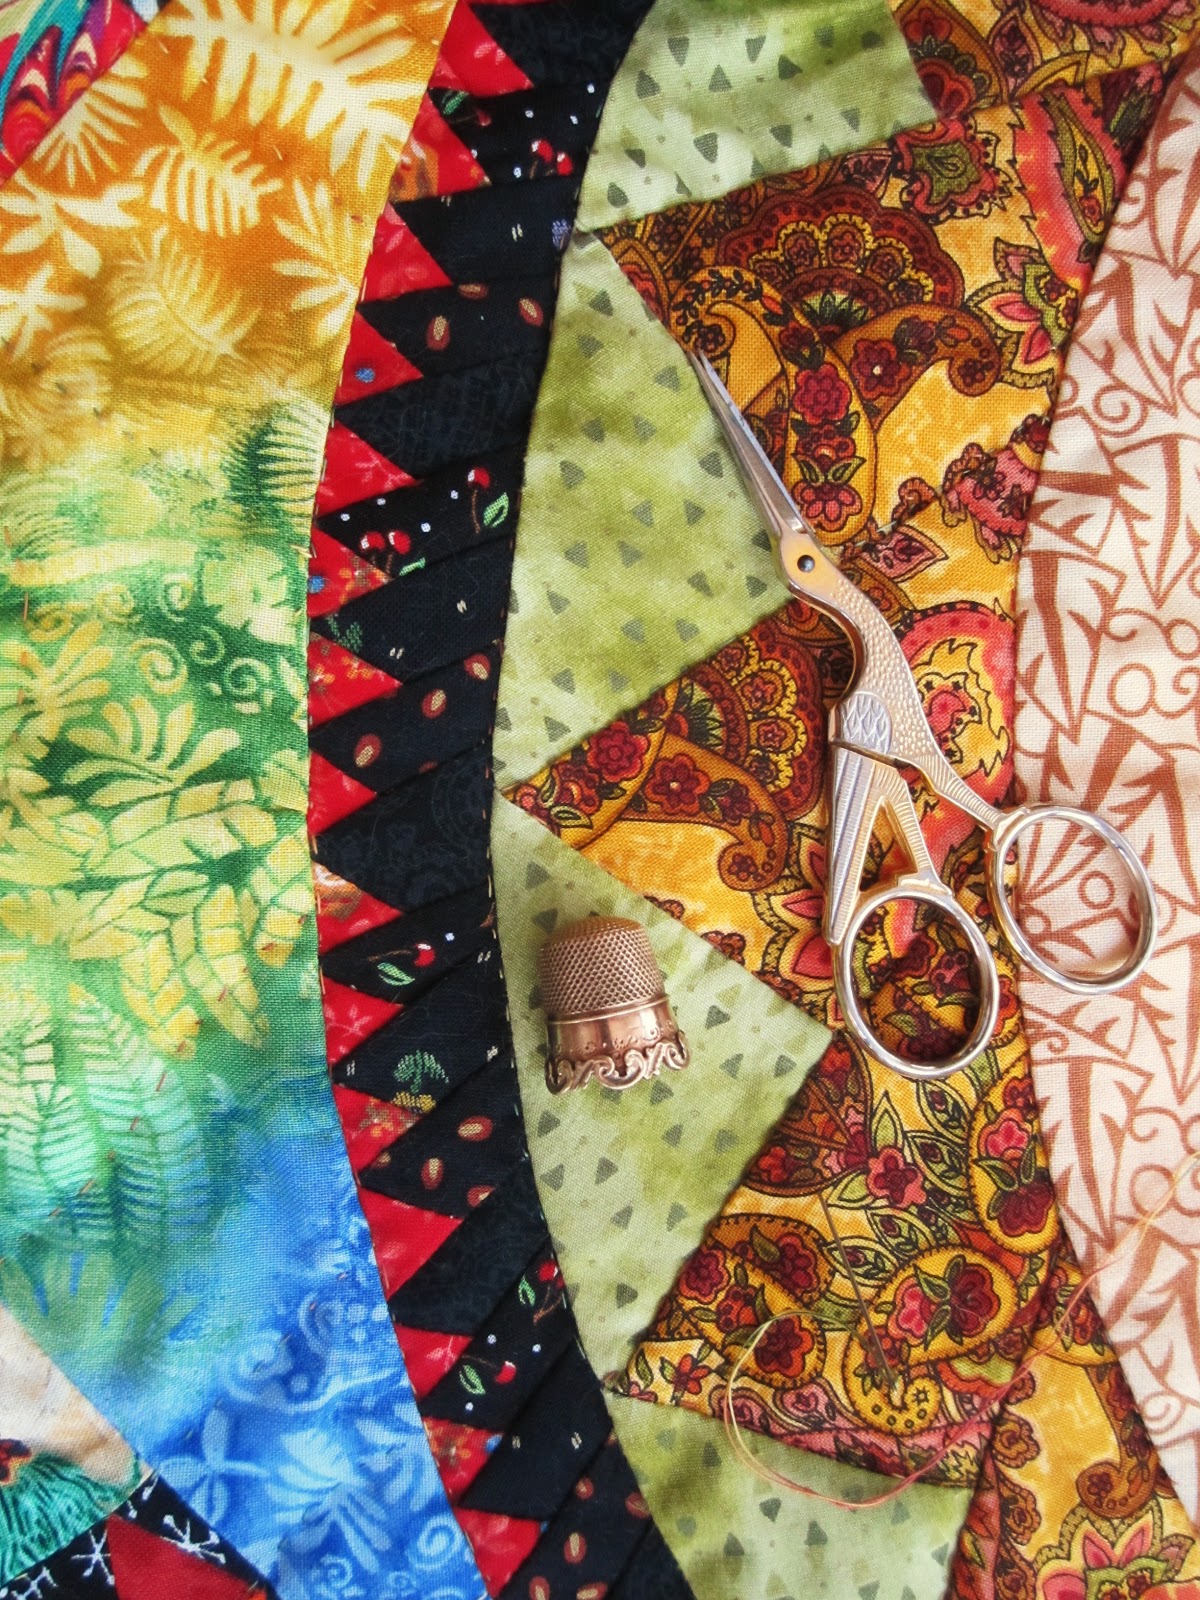
 I continued this process until I was happy with the design/shape of the posy.  
I had so much fun with these, I wanted to experiment with a few more types as well as leaves


  Here is a collage of several as they look in the completed quilt.  All stitched down with free motion zig zag style, raw edges, a bit ravely once washed.


Someone else asked about sizes of the log cabins in the border.
I took my cue from the background in it's original state


 Realizing that I have very loosely interpreted the traditional log cabin block, I can only say I made them in sizes ranging from  7" x  6 " to   9" x 12 ".
 These were then trimmed to fit the finished width of the border which is
6 inches wide .


Again, it was fantastic fun.  I can't say which parts of this quilt I had more fun playing with.  I can say, in readdressing this process, I am inspired to make another spontaneous, unstructured,
flying by the seat of my pants, no holds barred, sunshine day.

And it just so happens that I have a background all pieced up and waiting in the wings for splashes of color.

Have a weekend full of sun and fun, y'all.

my cinco by hand

At the tender age of 62 years +11 months, I have decided it is high time to learn a bit about hand quilting.  I have tried in the past, but never stuck with my attempts long enough to actually get the feel for it.  It seems I just did not have the required patience to practice, practice, practice.   After a few minutes of quilting, I would become frustrated because my stitches weren't blue ribbon perfect, and became a quitter. Not a quilter.  What was I thinking? 


This is a quilt I finished a few years ago, when I was using other people's patterns.  It is Cinco de Mayo, by Karen Stone and I just loved all those happy colors and fabrics.  I did change the arrangement and made mine into a bed size quilt, as in 110" x 110".  I got it all ready to machine quilt by stitching in the ditch.  YIKES.  I do hate stitching in the ditch by machine.  And that was precisely what I felt this quilt was calling for.  So I dragged it out from under Juki, spread it out on a table in my sunroom  was inspired to take needle in hand.


Yes, yes, I know, you are all saying that I have now officially lost my mind.  But you know, the mood was just right.  It is something I can sit down and relax with (or learn to relax with) and my awkward and uneven stitiches don't show up (too much) among all those  fabrics and tiny paper piecing.  I am actually becoming hooked on this process.  What is the saying about teaching old dogs new tricks?  Dog gone it!  I am not going to be an old dog yet.


Check back in with me around 2016.


for Mallory Kate


Quilt label (front)


Mallory Kate (front)


Mallory Kate (back)


machine quilting closeup


quilt care label


  Mallory's mom chose the fabrics to coordinate with the nursery decor and asked for a simple quilt that could grow with her into her "big girl" bed.  I made it into a twin size so that Mallory will enjoy using it for years to come.  She is a month old now and is a beautiful, sweet baby. I hope I am still around to see her carry it off to college.