Pillow Psychology 101

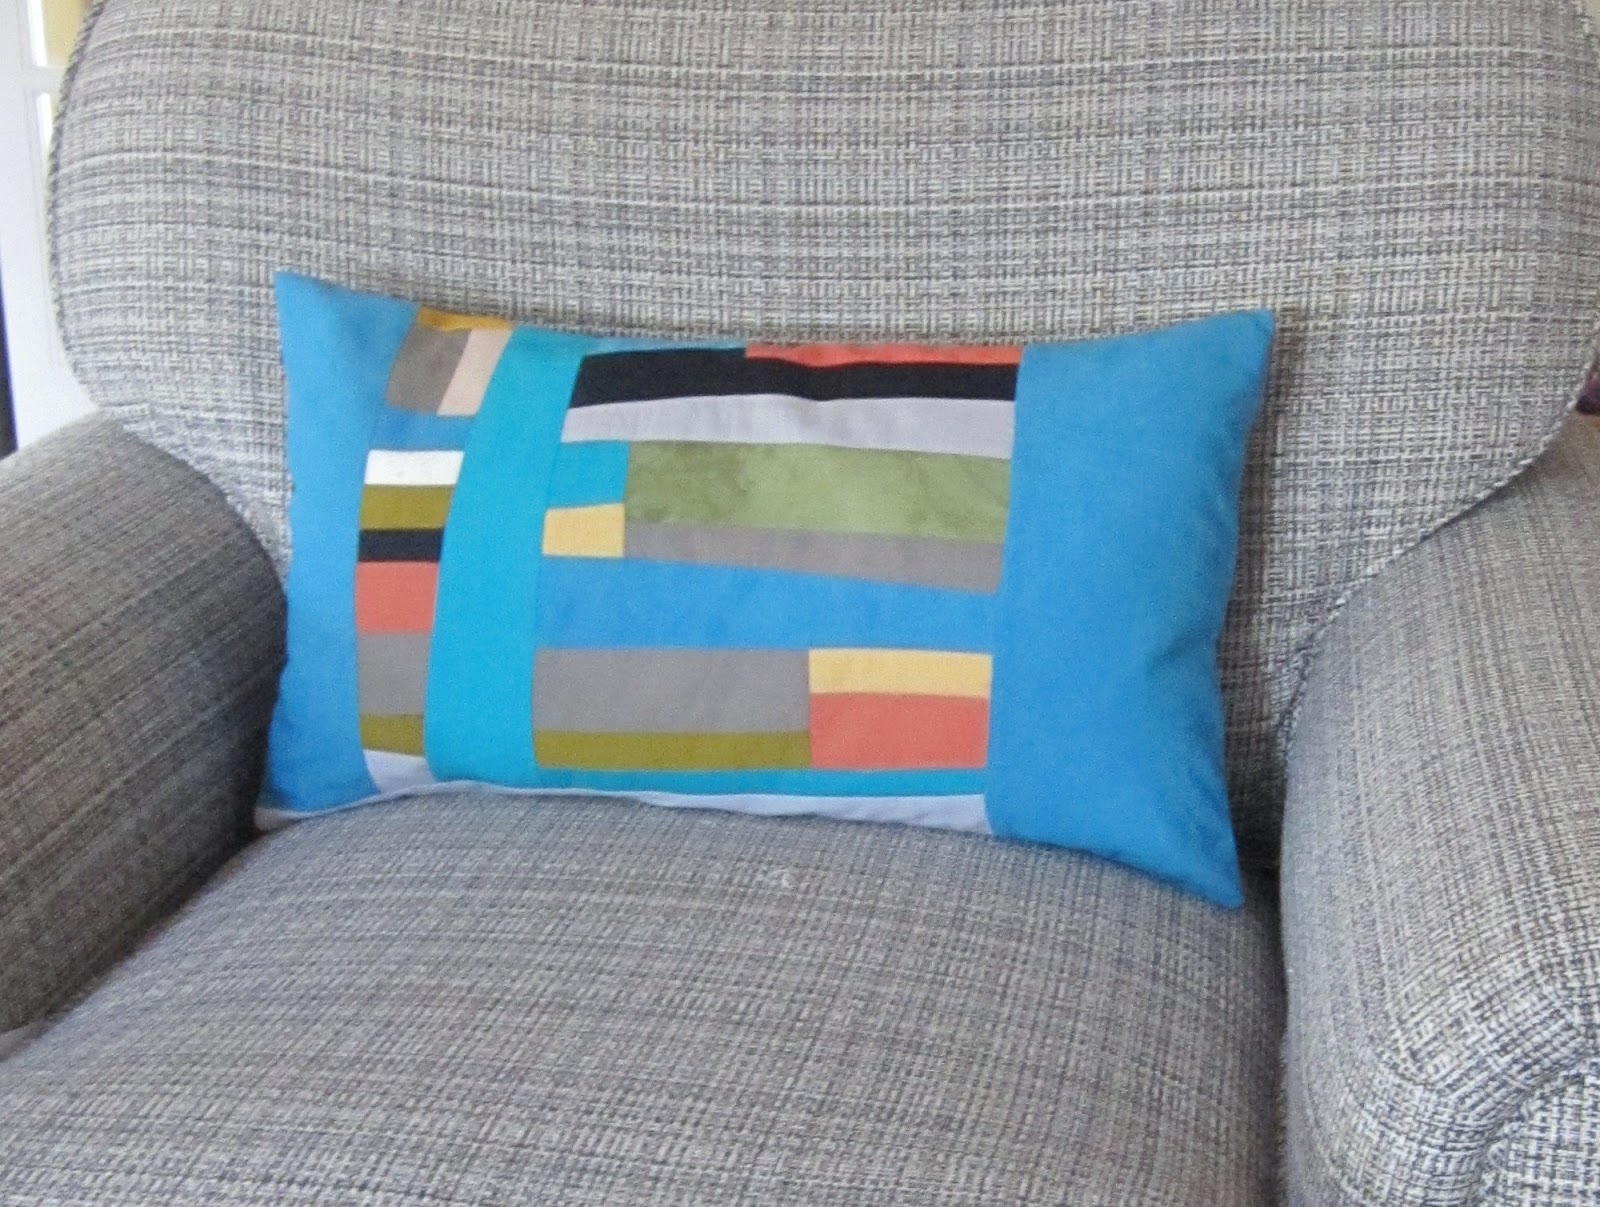
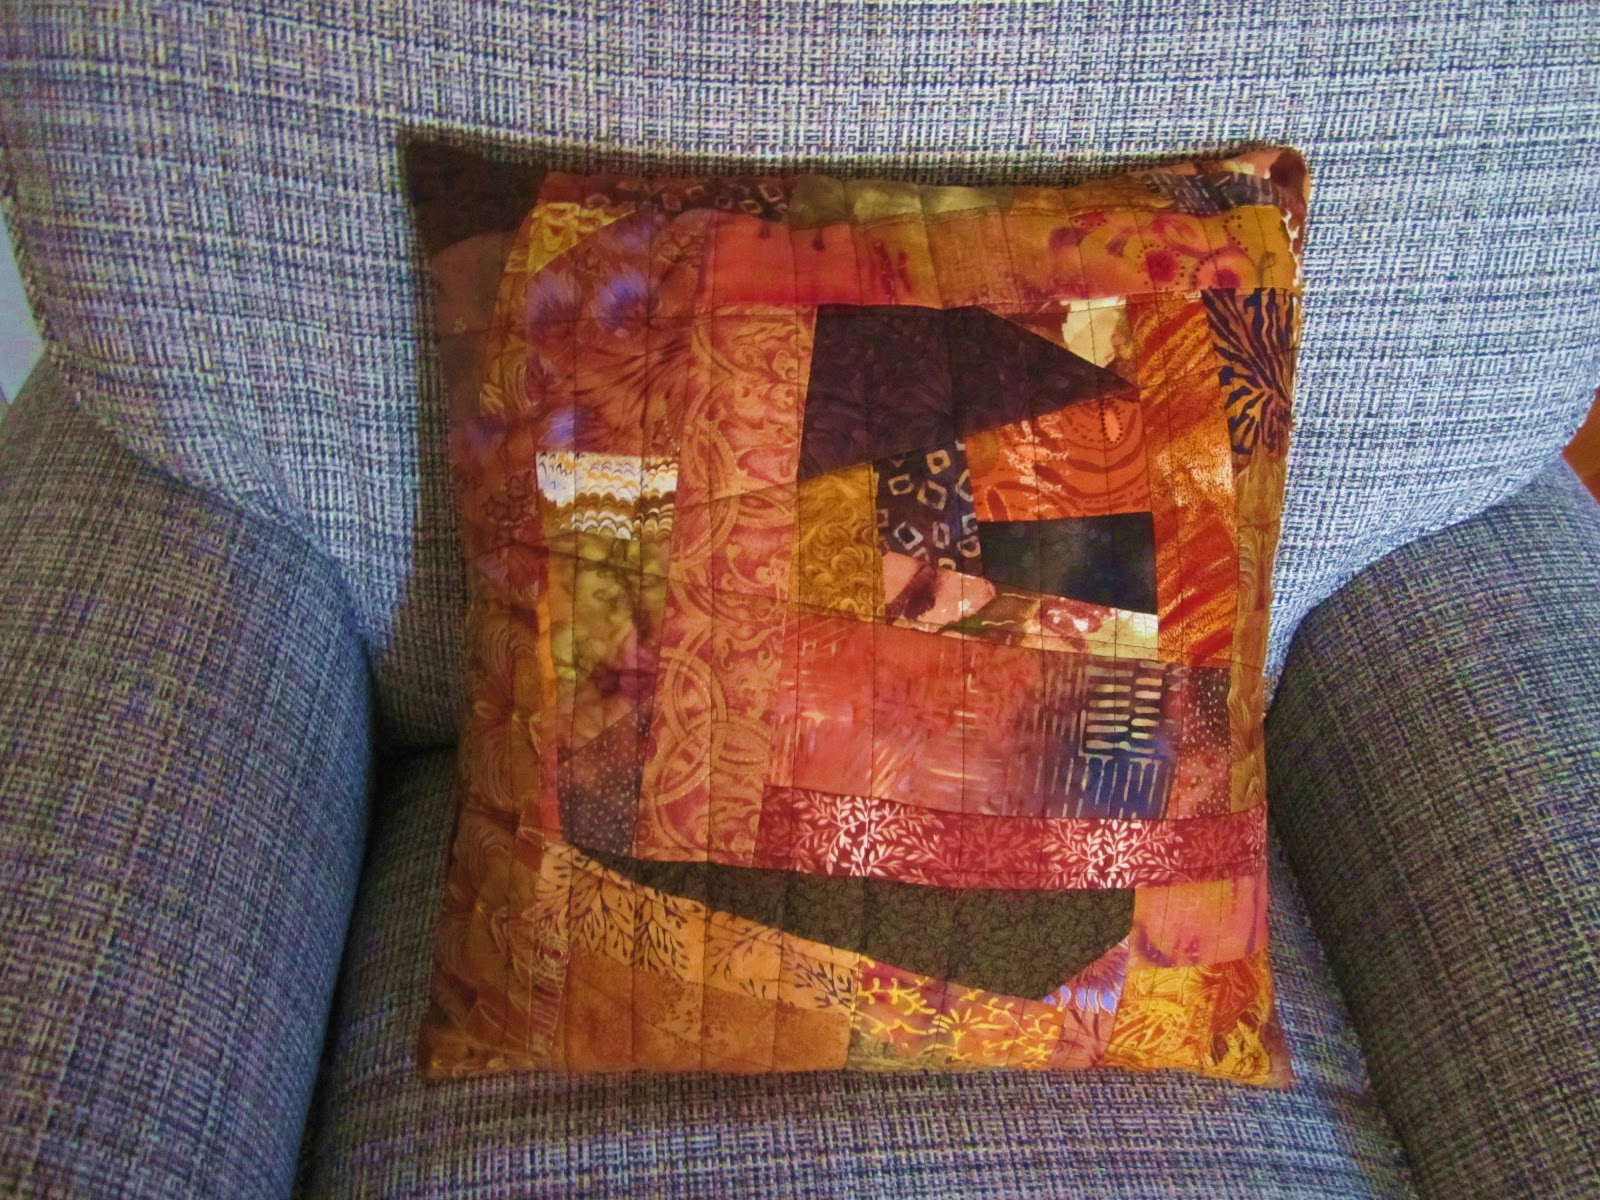
I have this passion for pillows. I am not sure where it originated.  I have made hundreds of pillows in my life time.  I have made pillows will the nice cording all around, embroidered with all types of imaginable designs. Pillows with expensive trims and fringes.   I've made custom ordered pillows for folks. From ring bearer pillows to sea shell pillows.   I've sold my one of a kind pillows in shops and to friends and family and anybody who would buy one.   Simple pillows and over the top pillows.  Pillows out the wazoo.  Just a bit over the edge with pillows am I.

Why?  I ask myself. Well, when you have all those beautifully coordinated pillows in your chairs or on your sofa or on your bed, they look so pretty and decorative.  Kicked up a notch.  Welcoming.  Homey.  But then someone sits on said chair or sofa and the pillows instantly  become a nuisance.  What do you do with this awkward blob of fiber?   Folks are always squirming around in their seat, trying to adjust that pillow so as not to offend their hostess.  Others just toss them out of their way. Now comes my big question.   Is there a pillow psychology?  I often find myself doing this amateur analysis thing when it comes to how folks react to pillows.  For instance, does the person who tosses the pillow out of his/her way with reckless abandon have no regard for personal property and is only concerned with their own personal comfort?  While the person who discreetly moves the pillow aside and gently places a hand on the edge of the pillow, says this is so pretty,  it's in my way but I don't mind.  I appreciate what you have done. Then there is the person who plops down on the chair and forces the pillow into submission under their body weight.  Guess I have as much fun watching people as much as I enjoy playing with fabrics.    I am weird that way.


How do you feel about decorative pillows?  I've tried it without them, but I don't like it.  More is better in my book.  Then I had this thought.  There are quad trillions of design ideas that I want to try.  From the Amish, Mennonite, Gee's Bend, playing with new techniques and making my own designs,  to the traditional pieced and appliqued designs, to free pieced fabrics.  So why not go play with all of those ideas.  Perk up my house for the holidays, for every day, for each season, with pillow art.  And if someone is not comfortable with all that fiber lumped on their backside, that will just give me more fodder for my amateur analysis.

pillow back
pillow front
pillow back
Even more fun when you make the back as interesting as the front. 

pillow front
pillow backs


pillow front


I am thrilled that I have discovered a new way to try out all those designs that are constantly rumbling around in my head. And productive as well. While playing around for a few minutes a day, I am satisfying my creative needs while accessorizing my chairs and the sofa.  And by the way, I am using goose down and feathers as forms.  That way, when folks sit in the chair or on the sofa, the pillows will politely shape themselves around what ever form is needed.

monthly colors

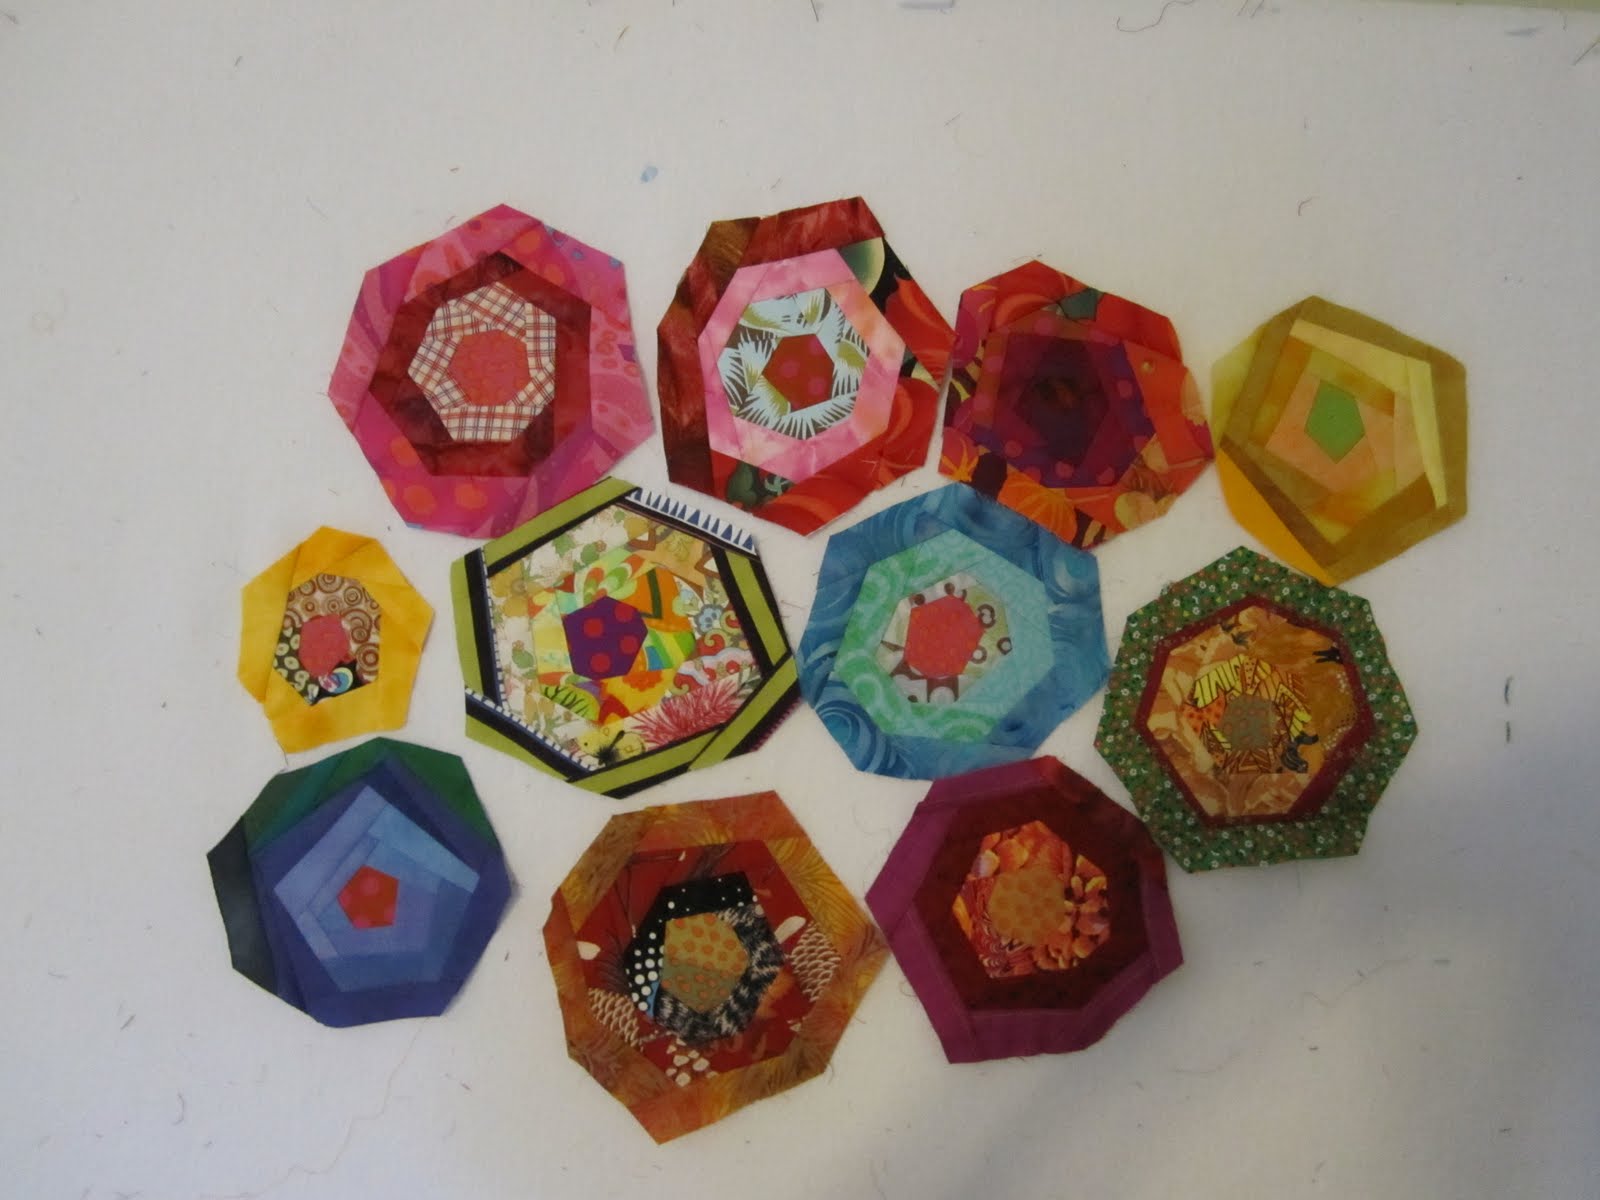
Every time I check out 15 minutes play website, I am inspired.  Victoria has generously provided a wonderful spot for quilters to gather, play and show & tell.  Now I am fortunate  enough to be able to participate in Victoria's online quilt bee with 12 very talented and creative ladies. This is a first for me and I am totally hooked.Each person has  been assigned a month of the year.  When your month arrives, you must choose an idea for making scrappy blocks. Each person, will then, make blocks along that idea, send them to that person and post them on the website.   It has been so much fun to see all the blocks from all the ladies as they are posted.  What has been a plus for me is the inspiration that I get from everyone.  For instance, the choice for November by Nifty Quilts  was scrappy block all in red fabrics.  I sent these 3 blocks to Nifty.


Once I began making these quick, fun, blocks, I couldn't stop.  I had to keep making more.  The same thing happened when I made October blocks for Victoria's month   This has inspired another idea.  Now I am thinking that I could make scrappy blocks for each month of the year.  But as an added idea, choose a color for each month of the year.  For October, I would make blocks using only blacks fabrics.    Reds for December.  Then make more blocks for November using golden yellows,  January might be blue.  You get my drift?  And as another added bonus, I already have a short stack of single colored scrappy blocks that I've had laying around  for a couple of years just waiting for more.


I had even made one into a pillow. Most of the scraps came from this quilt. All nicely coordinated, huh? 

 
This picture shows the back of the pillow.  Rather than sewing it permanently "closed", I like to make one side lap over the other.  Plus, it is fun to make a band that slashes across for added appeal.  I usually end up liking the back more than the front.   

 More to follow on this monthly theme as well as on the pillow theme.

A weak moment - Part II

So.  It is over.  And it wasn't nearly as terrifying as I thought it was going to be.  After all, those ladies love quilting and I do know most of them.  They did ask me to explain how I do what I do.
I was prepared as I was ever going to be.  I held on to that podium for dear life, adjusted my reading glasses and before I knew it, it was all over.  It still isn't easy speaking to a group of people about yourself and what you do.   Now it seems that I find myself thinking that I wouldn't mind doing this again.  Scratch that.

The sample has been completed and then I was inspired to do another ~ a set of leaf portraits, as it were.  The maple leaves were machine appliqued while I decided that the dogwood leaves would be pieced.  Once I learned the Ruth B. McDowell technique of drawing a piecing pattern, I have abandoned ye ole applique  technique.  Although the initial drawing and pattern making is much more involved, the sewing goes much more quickly.  I realized this as I worked on the applique sample for my presentation.  Although my Thistles quilt was done with mostly machine applique using the same process as the Maples,  and I enjoyed making each petal and piece , I find that the pattern making and piecing has a more appeal.

Let me pause to give a bit of credit where credit is due, the artists who have inspired me through their instruction books.  I have found that I learn more easily in my own space and in my own time by using the quilting and art quilting books that are available.  I have a rather large library of those.  The main artists that have inspired me to design and create several of my award winning quilts include:  Ruth B McDowellBarbara OlsonKatie Pasquini MasopustCarol Taylor, and Vikki Pignatelli.  Of course there are so many other quilt and textile artists that I admire, but these ladies have provided excellent sources of inspiration in their books as well as their art.  I don't know that I would have ever figured it all out on my own, had I not bought their books and spent countless hours studying and drooling over every page.  They empowered me to give it a go and develop my own style and technique.  I suggest that you check out these websites as well as their books. There are much more instructive than I.

So enough rambling.   Now on to the completion of the maple leaf sample.  Once all the pattern pieces have been cut out, ironed onto the fabrics and pinned onto the cartoon, it is time to glue. 
I usually begin with the background pieces.  Looking to see which pieces will be mostly covered by the others, I select one and check to see which edges need to be turned under.  First I will clip any curves that need to be clipped,  then using a mini iron,


I press the seam allowance that over the edge of the freezer paper, and let cool a bit.  Then gently lifting  the freezer paper,  I use Elmer's Glue Stick and lightly touch the edges to be turned under. Next, turn under that seam allowance and press to dry the glue. 


Choose the adjoining piece, matching the registration marks  and slide it into place with the folded edge covering the raw edge. Add a touch of glue to secure the pieces into place, fold the freezer paper back onto both pieces and lightly iron down.   

I continue in this manner until I have several applique pieces glued together.  Lay them onto the Sulky Totally Stable cartoon and press in place, checking  to be certain that all the proper seam allowances are folded under and glued together. At this time I go ahead and machine applique some of the pieces in place.


Once all of the pieces are in place on the Sulky foundation, I will finish the machine applique.  Next I will gently tear the Sulky from the back of the piece.  I don't worry about removing every bit of the Sulky, because I don't want to stress the seams. 


TA-DA!  Ready to be quilted


Here is the dogwood leaves under construction, showing my piecing pattern. 


And the pair ~ still waiting to be quilted.


a weak moment

To say that I do not like to stand in front of a group of people and speak would be a huge understatement.  The thought of being a public speaker creates waves of panic in my mind.  No matter that it might be speaking to a group of people that I know very well, many who are close friends, my heart begins to pound fiercely in protest.  You would think this silly, I think it is ridiculous, never the less, there it is.  Along with that predicament, there is this idea that I have;  that for a person to speak publicly about what one does indicates to my mind that one actually knows what one is doing. Nowadays I rarely do the same thing twice. When I am in the midst of a project, I usually don't make conscious decisions about the process.  It has always been an intuitive thing, based on what I've seen or read, or what I might be feeling at that time and place.  (yeah, ok, call me moody)  Now comes the ringer.  I was asked to present a program to my quilt guild on how I do what I do when I make an art quilt.  I was so flattered that I agreed to do it.  What was I thinking?  Or better yet, why was I not thinking?  The words "no, thank you just the same", didn't come out of my mouth.  My mind was saying, "no way, are you crazy?" and my mouth was smiling and saying, "well yes, of course, I would be delighted."

Regardless, the time has almost arrived and I have spent the last 3 days trying to figure out how I do what I do and put it all on paper.  After typing for 2 hours, non stop, which resulted in 4 single spaced pages in size 10 font, I realized that I had only just begun.  Where do I go now? 
When I asked a friend to read over those four pages (I owe her big time), she said many kind words, but then she delicately suggested that it would be helpful if I had an actual sample to visually enhance the process . As usual she was correct.  No matter how I wrote and rewrote instructions on technique, it didn't make sense, even to me. The clock is ticking and I have procrastinated far to long.  Well, the best place to go would be to my drawing board, and my fabrics.  I need to physically reproduce my methods step by step, which will result in a sample design.  I don't have time to do a large piece and  I normally do not make small pieces.  But then, maybe this could be one of those small pieces that I could hang in a local gallery to sell, at a reasonable price?  


 So here goes.
I grabbed some maple leaves that are falling from the spectacular tree in our front yard.


Then I chose 3 leaves and arranged them on the bed of my copy machine, punched the enlarge button, hit copy and out comes the basis for my pattern.  Simple Simon, huh? 


The next step is to trace the these leaves with a pencil.  I use vellum for this step as I have found that it holds up to wear and tear, as well as being able to easily see through for tracing.


Now to add a few more design lines.  Once I am happy with the design I will go over each line with a black Sharpie Fine Tip Marker.

One of the most important things is to label every piece on the drawing, which, incidentally is known as a cartoon.  I use numbers, letters, or a combination of both, to suit whatever I've got going on.  Once this is completed, I'm good to go onto the next step.  
I am really getting excited now and I've forgotten all about having to do this presentation about it next week.
(footnote: if the size of the paper doesn't meet the requirements for the size of the finished piece, simply cut and use masking tape to afix additional pieces of paper to the drawing.)


For the actual pattern, I tear off a sheet of freezer paper and tape it, shiny side up onto the cartoon and trace all the lines with my Sharpie.


Once that is accomplished, I turn the freezer paper over to the dull side, retrace all the lines and label all the pieces exactly as the pieces are labeled on the cartoon. 


And the finally,  but one of the most important things, is to make registration marks.  See all those little red marks that are slashed across every single line.  This does try my patience, but having skimped on this step before, I learned that I won't be skimping again.  This way you are able to fit the pieces together nicely when you begin to sew all those pieces together.  


Another tip:  using another colored marker, draw around all four edges of the piece.  This helps you in cutting your fabric pieces for the edges on the straight grain of the fabric.  Which in turn helps with distortion of the edge of the fabric piece. 


One more tracing needs to be done onto Sulky Totally Stable,  This is iron on, tear away stabilizer which is used when I begin to place and sew the piece together.  Using a fine tip Sharpie marker, once again, trace the design on the shiny side of the Totally Stable.


Now comes more fun. Choosing the fabrics.  Oh, the possibilities.  But time's a wastin', so make a choice and get on with it.  Having all those fabrics from my summer of dyeing in the garage, (it was a scorching, hot summer and I was about to die on several afternoons)  I decided it was past time to put them to use.  This pile includes old shirts, sheets and scraps of gray, blue and natural fabrics that I was experimenting with.


Terrific background material.
I don't think I was wrong here. 
 I'm doing what I love best.  Selecting fabrics for each piece.


I like to begin with the focus of the piece.  Being the maple leaves in this case.  Using my small paper scissors, I cut a few of the pattern pieces from the freezer paper.  Select a fabric and iron the pattern piece onto the back of the fabric.


Cut out the pattern piece with a 1/4" seam allowance.


 Pin each piece onto the corresponding space of the cartoon.


Continue in this manner until all pattern pieces have been cut and pinned onto the cartoon.

Are you following all this?  


This is as far as I gotten today.  It's been a long day.  I think my brain is saying that it is time to shut this project down for a bit.  Not to worry, I'll be back with more in a few days with more details and techniques.   
Tick tock, tick tock.


Where have I been?


Where have I been?  Up a tree, out to lunch, over the edge`you get the drift. . . . . .
It has been well over 2 months since I have taken the time to put thoughts into words. In that amount of time there have been too many thoughts, many better left unsaid and so many I wish I could remember "because they were so brilliant"! (This said with tongue in cheek). Well, actually I did write down thoughts in a separate travel journal, as my husband and traveled through the north west for a few weeks during August and September. I'll not repeat all that, as who wants to spend their blog  time reading about other folks' vacations. However, I did take a multitude of photos and was constantly inspired by all the flora and fauna I  would never see in the south east.


There are now so many more wall quilts in my mind, I think that my brain is in total overload. Where do I start? Better question~when do I start? Do I wait to finish up all those pieces begun months ago? Am I still inspired enough to complete them? I do realize that at least one of those MUST be completed, as it has been promised. So I've sucked it up and worked played away on this one. I decided that I should go ahead and do a preview showing of the lap size top for the future owners. Just in case it turns out to be something that doesn't thrill them.  I showed it as being a prototype, just in case it was way too unstructured for their tastes. 


Well, its seems that they were delighted with everything about the quilt. WHEW! Now I can't wait to finish it up. And I am rejuvenated as well. Can you see me grinning from ear to ear? Now to squeeze in some time to dye the fabric for the back of the quilt. This one is really personal and I want to do something very special for such a special young couple.


In between all the latest life occurrences and family crisis', my mother has finally decided that it is time to leave her home of 52 years. This has been an extremely difficult decision for her, as she is a very independent lady. Among other concerns (she is now 90 years old) the hustle and bustle of the city is literally moving into her back yard. So I've been busy repainting and sprucing up our basement apartment. Mom is movin' in. It will be a huge adjustment for her, I am certain. But I look forward to having her so close for so many reasons. Perhaps I can persuade her to attempt a bit of hand piecing to occupy her time - when she isn't working on her Sudoku puzzles, hanging out with her friends, and going to exercise classes.

Once we get Mom established in her new digs, I am hoping to get back into my studio and play around with some of those travel photos. I have really been missing the opportunity to do some sketching and pattern making for a new art quilt. I've come full circle here. Think I've gotten it figured out as to when to start on a project, the most difficult is deciding which one to finish first!


Quandary

Quandary:  Obsessive purchasing of Kaffe Fassett and  Rowen designer fabrics. 

Solution:  Jump to Victoria's new blog for inspiration from that group of designers.

Results:  Oh what fun it is to sew.

More than 15 minutes of obsession

I have a new addiction. Victoria over at 15 Minutes Play has provided a spot for creating outside the box, and just plain play time fun.  I've already posted a couple of ongoing projects on that blog that I have been getting together for using up bits and pieces.  Not wanting to be a blog hog, I didn't go into a lot of detail.  I also intend to join in with Rossie and her Process Pledge group.  That is, if I hear from anyone who has an interest in my processes. But just for today, I'll post a few pictures of things that I've got going on.  Maybe seeing everything on screen will remind me that I've got to learn to focus.  HA! 


I named this quilt "The Aspens at Muddy Pass".  It's my attempt at an abstract design using a sketch that I did several years ago.  I've gotten it sandwiched and ready to quilt. 


Last winter I had the brilliant idea of making an abstract log cabin quilt inspired by the Gee's Bend artists.  I challenged myself to use very large pieces of fabric and make only 3 blocks.  And if you knew me, you would know what a challenge that would be for me.  However, once I had it pieced, it wasn't happy with the result.  I kept thinking that it would be the perfect practice piece for free motion quilting.  Nah.  Then I thought, hummmmm, maybe the log cabin needs some flowers to jazz it up.  And voila'


One day not too long ago, in a wild burst of organizational madness, I sat down in the middle of my studio floor with my box of scraps that I just could not bear to toss out.  Using an old mesh- over- the door- shoe -holder, I sorted, by color, all of those bits and stuffed them into the pockets that once held shoes.  (an obsession I've given up, well almost)  Now all I have to do, is reach in and grab a handful of color to make my posies. 


Or other free style pieced blocks that may go into a quilt or a pillow or maybe even a few place mats for the dining table, one day soon.


Next delimma:  Obsession/compulsive purchasing of  Kaffe Fasset, Philip Jacobs, et. al., fabrics.   Seems I can't stop myself from buying fat quarters of many many many of their fabrics.  What do you do with all those fat quarters?  More log cabins?  But with a definite purpose.  I have someone in mind who enjoys bright, happy quilts.  And what could be brighter and happier than a jillion Kaffe/Philip/Brandon fabrics?  Along with Amy/Carla/Heather - the list could go on forever. 


Then there's the selvage thing. For years I've checked out the selvages of every fabric that I see. Always thought I was a little weird that way. Seems I was not the only one. I would cut & toss all those selvages that into a basket, thinking that I would figure out what to do with them one of these days. I stumbled into  Karen's blog and yippee, I'm off and running.   With info and guidance from Jacquie and her tutorial I've got a good start on using up that basket full of selvages. 

In my spare time, I've been doing a bit more fabric dyeing as well as using soy wax to learn how to batik my fabrics.  Got a couple of cabinet shelves loaded up and waiting for some experimentation a la  Jean Wells and her inspirational book "Intuitive Color and Design" .  Maybe even an Amish style quilt in the manner of  the Lazy Gal Liberated Amish 2010 Get Together
I'll write about that in more detail at a latter time.  Right now I've got some more fabric soaking in a bucket of soda ash calling for color.